tutorial_7-adding_diffusion_to_the_compartment_model
Tutorial 7 - Adding diffusion to the compartment model
4/5
So far, so good. It is now time to add diffusion. As before, we begin with creating a compartment model.
Editing the model structure
- Open the first model. Smile.
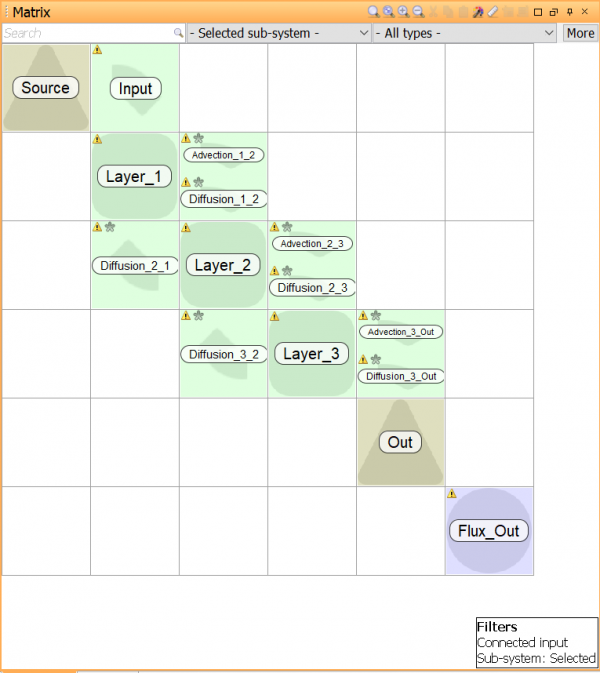
- Connect Layer_1 and Layer_2 with a Transfer block. Name the block “Diffusion_1_2”.
- Connect Layer_2 and Layer_1 with a Transfer block. Name the block “Diffusion_2_1”.
- Connect Layer_2 and Layer_3 with a Transfer block. Name the block “Diffusion_2_3”.
- Connect Layer_3 and Layer_2 with a Transfer block. Name the block “Diffusion_3_2”.
- Connect Layer_3 and Out with a Transfer block. Name the block “Diffusion_3_Out”.
Assigning values
Edit Diffusion_1_2. Assign the expression “D/(R * dx2)” where:
Name Type Unit Full Name Value/Expression D Parameter m2 year-1 Diffusion coefficient 1
Assign the same expression to all the diffusion Transfer blocks.
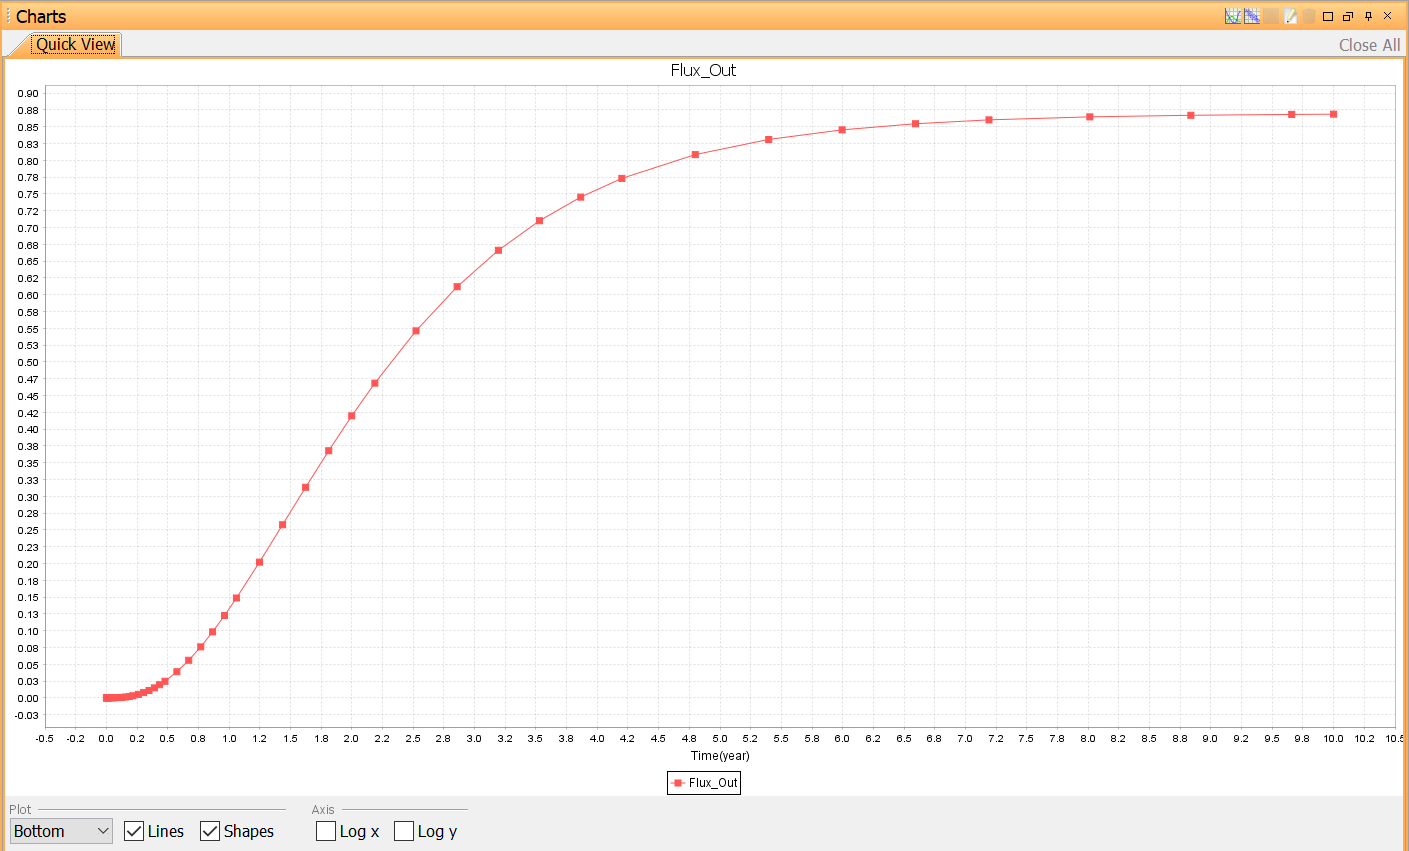
Run a simulation and make a plot of Flux_Out. What has happened to the curve?
Save the project.
Solution to this part
Next
Previous
References
tutorial_7-adding_diffusion_to_the_compartment_model.txt · Last modified: 2023/03/29 16:51 by dmytroh


